If you’re like me, you’re always looking for easier, better, and faster ways to do things. Computers, TV remotes, microwaves, GPS, dishwashers, cars, and EasyWorship are a few that just come to mind.
There are also plenty of tasks that we do on a normal basis that we’re so used to doing in a certain way that we don’t even think that it could be made easier, better, or faster. In the context of operating EasyWorship in a live service, where you may be moving a mouse and clicking on the next slide, going live with another scheduled item, or navigating to the top right corner to click the Logo, Black, or Clear buttons, you may not have ever thought that there could be a simpler way to do it. But, with our new Stream Deck and Bitfocus Companion plug-ins, it does just that.
If you don’t know what a Stream Deck is or what Companion is, don’t worry. This whole blog will explain what they are and how one or the other or even both can make your life easier when running a live worship service.
Elgato Stream Deck
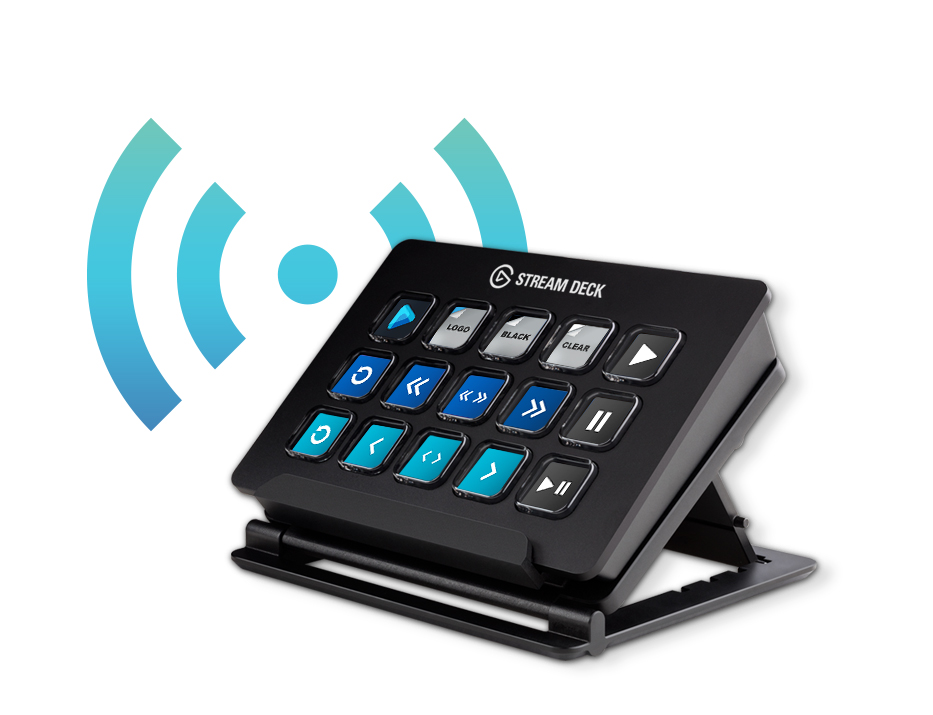
The Stream Deck is a hardware device that allows you to program keys to perform different actions on your computer and even on other computers or hardware on your network. With just one press of any of the keys you programmed, it will perform that specific action you told it to do. You can purchase a Stream Deck online and it comes in a few different sizes. There’s the mini that has 6 keys, the standard that has 15 keys, and the XL that has 32 keys. You can even use your mobile device as a Stream Deck with their mobile app. Each one of these models is not limited to that number of actions though. Each one can be programmed with pages and folders that almost give you an unlimited number of actions.
There are many plug-ins you can download and use with the Stream Deck to perform single actions and even multiple actions with the press of one key. It really does make it easy to control just about everything you do during a live service, like your livestream, lighting system, and EasyWorship.
You have always been able to set up and control EasyWorship using hotkeys or MIDI on the Stream Deck, but with the EasyWorship plug-in, it’s as simple as installing it and dragging and dropping the actions to the keys you want. And the initial setup is just a couple of steps.
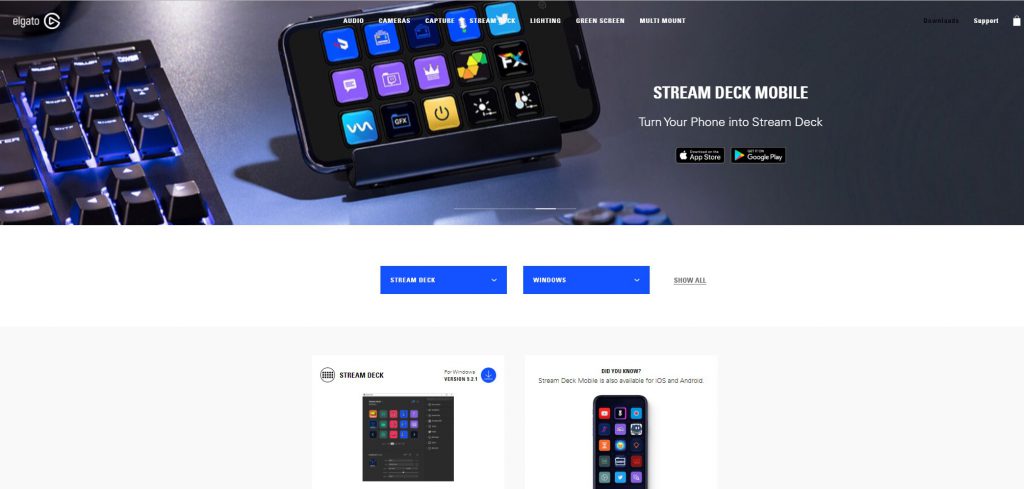
To install the Stream Deck software, go to Elgato’s website and click the Download link at the top of the page. Here is a direct link to Stream Deck Software Download.
Run the installation and when complete, launch the application. At the top of the window, click the Store icon and search for EasyWorship and then click Install when you find it.
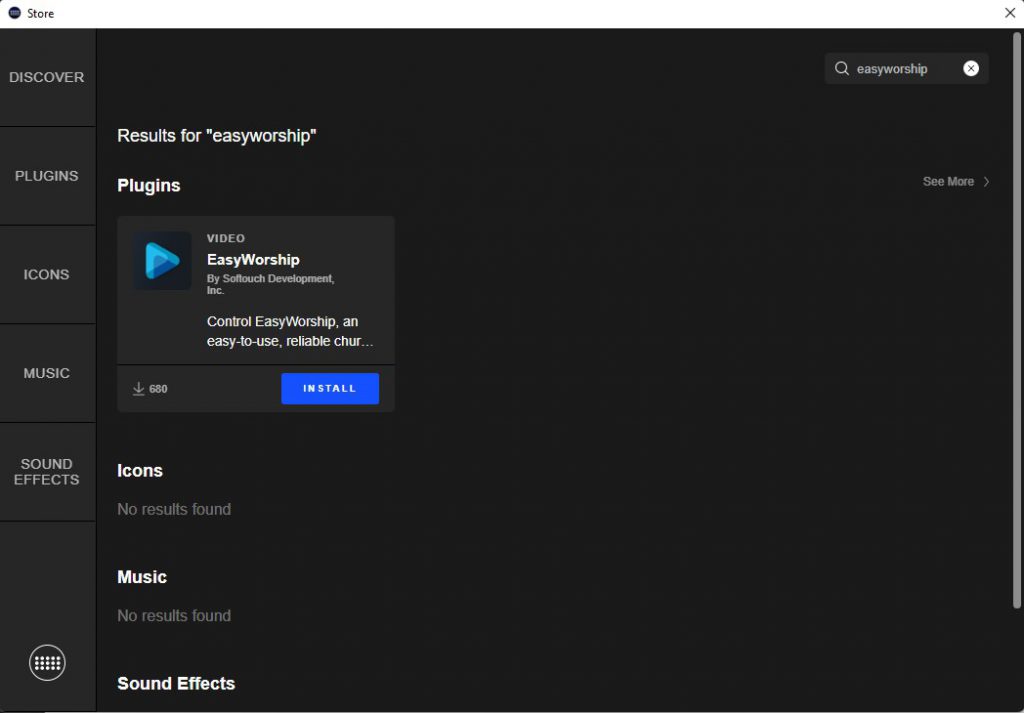
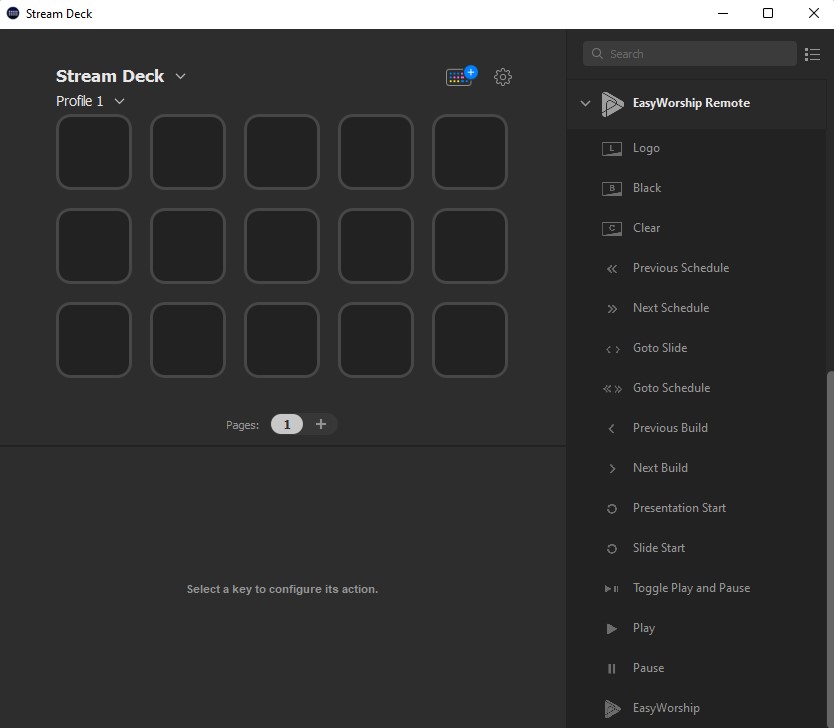
Once installed, close the store and you’ll see the EasyWorship plug-in on the right side.
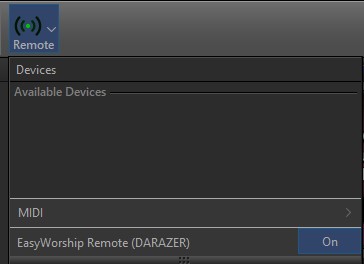
To make the connection between the Stream Deck and EasyWorship, make sure EasyWorship is open on the computer the Stream Deck is connected to, or on the computer you want to control that’s on the same network and that the Remote control is enabled. If you don’t see the Remote button on the toolbar in EasyWorship, go to Edit > Options > Advanced and check the box at the bottom to enable it and click OK. Then, click the Remote button on the toolbar and make sure it says “ON”.
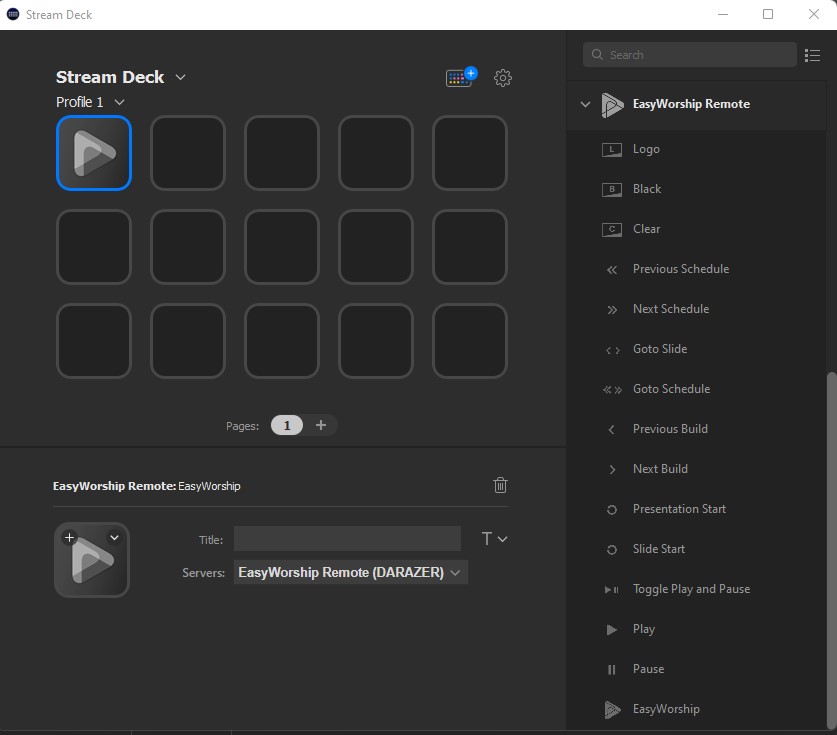
In the Stream Deck software, drag and drop the EasyWorship logo button to one of the keys on the left. In the settings below, click the dropdown menu and select the computer you want to connect to.
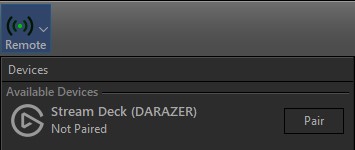
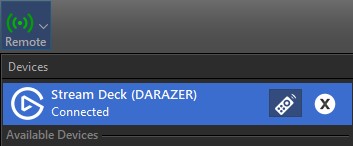
Then, press that key on the Stream Deck and go back to EasyWorship. You should see a yellow triangle on the Remote button. This means that something is wanting to pair with it.

Click the Remote button and click the Pair button next to Stream Deck.
To allow it to have full control of EasyWorship, click the lock icon to unlock it.
Now that the plug-in is connected to EasyWorship, you can go back to the Stream Deck software and drag and drop any of the other actions you want to the keys on the Stream Deck. If you use the Goto Schedule or Goto Slide actions, you can set which schedule or slide number you want for that key in the settings below.

Bitfocus Companion
Companion is a little different than the Stream Deck in that it is just a software program that has a Stream Deck emulator, but it has even more flexibility with other plug-ins, can be controlled from a web browser (great for touch screen monitors), or can even be used with a physical Stream Deck.
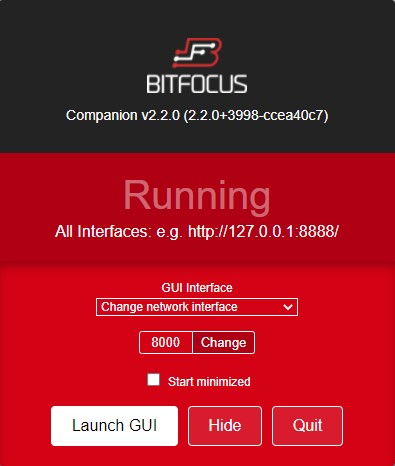
To get Companion installed and working with EasyWorship, you can go to their website here and create a free account and download it. Setup is very similar to how we connected the Stream Deck. Make sure EasyWorship is open, and that Remote control is enabled. Once you have Companion installed, open it and in the window that opens, choose your GUI interface, and click Launch GUI.
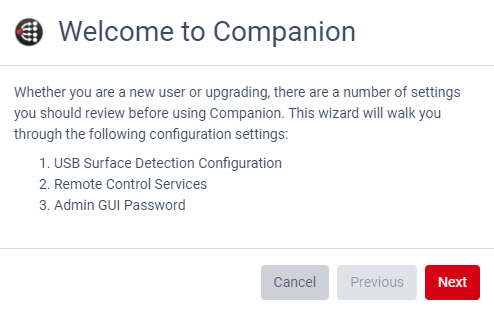
Your web browser will open, and you should see the configuration wizard pop up. Click Next.
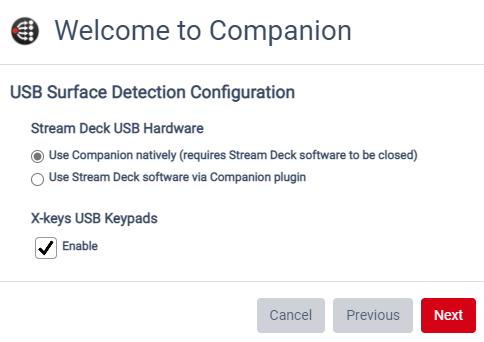
If you have a Stream Deck and you want to use it as your controller, select the “Use Stream Deck software via Companion plugin”, otherwise, if you want to just use your web browser for the controller, just click Next.
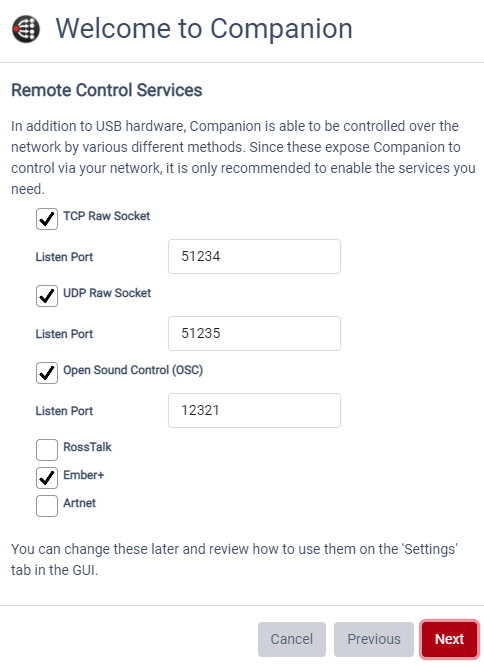
If you need to make any changes on the Remote-Control Services page, go ahead and do so. For EasyWorship, nothing needs to be changed here. Click Next.
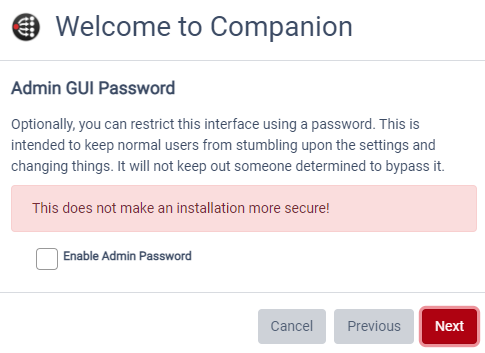
If you want an Admin password, set it here and click Next.
Then click Apply and Finish.
One side note, if you chose the option to use the Stream Deck, you must have the Stream Deck software closed on the computer. If it isn’t closed, it won’t work.
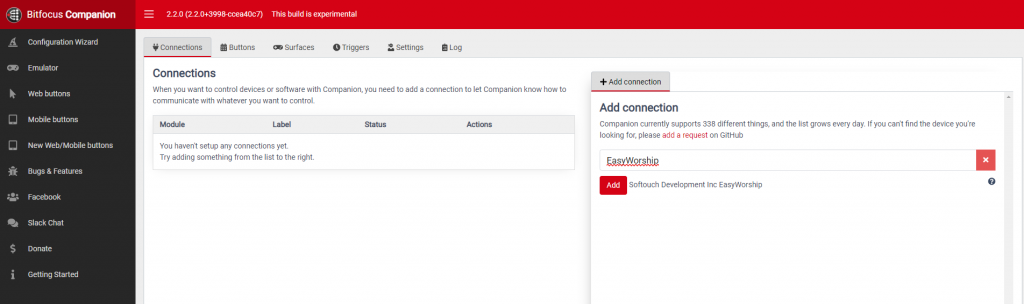
On the Connections tab, search for EasyWorship under Add connection and click Add.
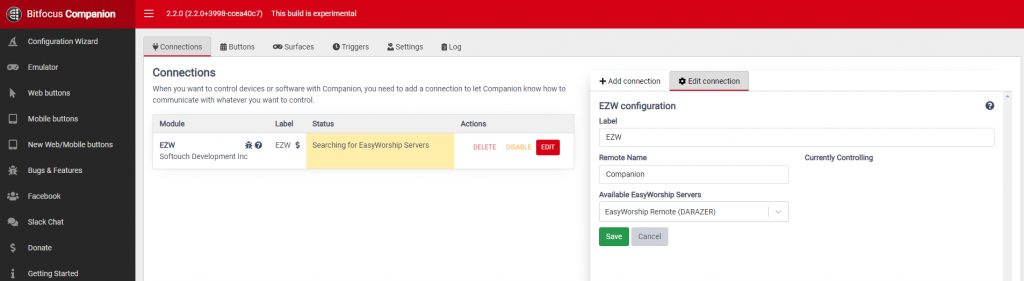
On the right side, create a remote name. This will be what shows up in EasyWorship under the remote button. To make it easy, I suggest naming it Companion. Then, choose your EasyWorship server, it should show the computer you’re connecting to, and click Save.
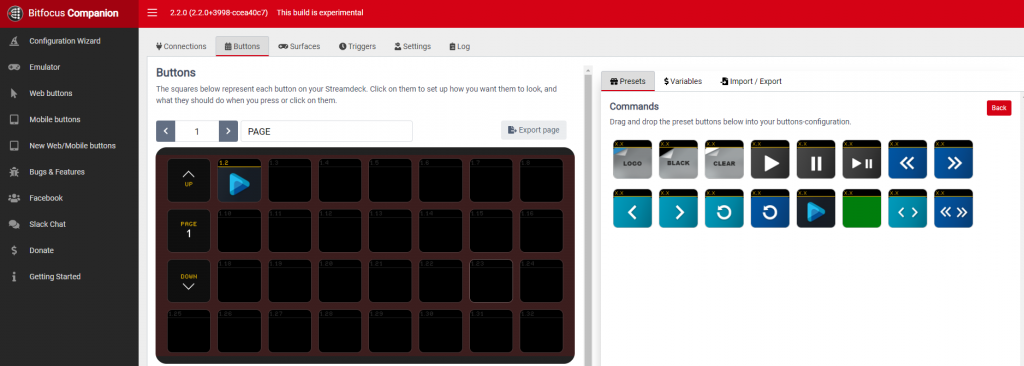
Now go to the Buttons tab and click the button under the Presets tab and then click the Commands button.


This will show you all the actions available in the plug-in. First, we need to add the EasyWorship play button to make the connection with EasyWorship. Drag and drop it where you want on the controller.
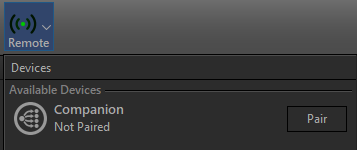
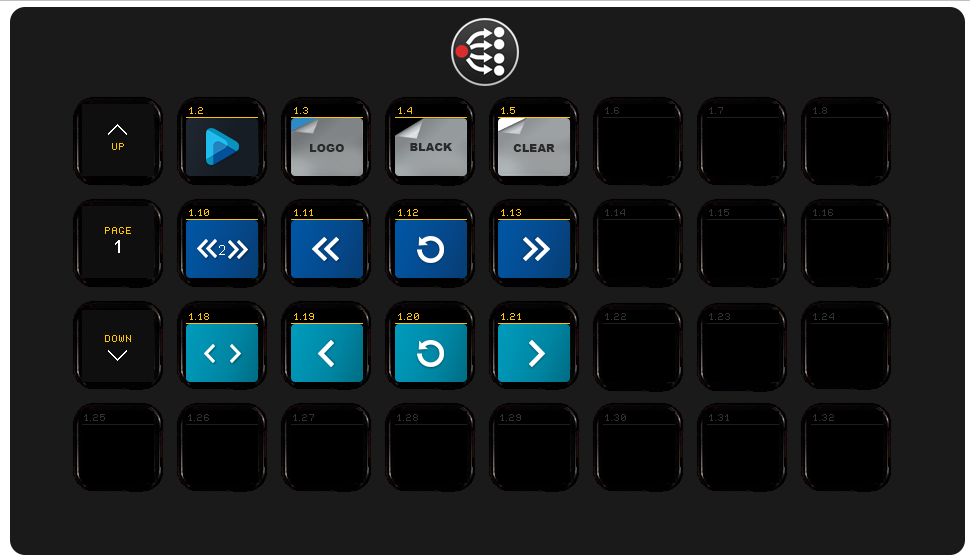
If you’re using a Stream Deck, you should see the EasyWorship Icon appear on the interface. If you don’t have a Stream Deck, click Emulator on the left and this will open the controller in a new browser tab. Press the EasyWorship button that you just added and then go to your EasyWorship window and click on the Remote button on the toolbar. You’ll see a yellow triangle meaning that there’s a device waiting to pair.

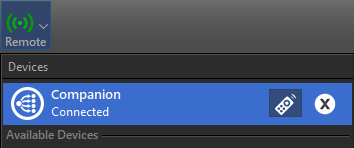
Click Pair next to Companion and it will show that it’s connected.
By default, it’s locked. So, to allow it access for control, click the lock icon next to it.
At this point, you’re connected and just need to set up any buttons you want to control the EasyWorship schedule.
Go back to your web browser. You can close the Emulator tab. You’ll open it back up after configuring your buttons. Drag and drop the buttons you want to the controller on the left.
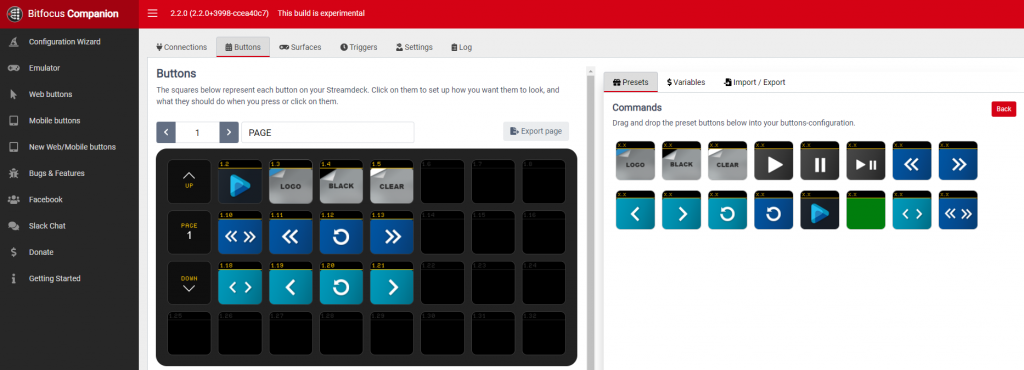
If you want to use Schedule number and Slide number buttons, you’ll need to select each one and type in the slide number you want for it. Also, add the Button text and where you want it displayed on the button.
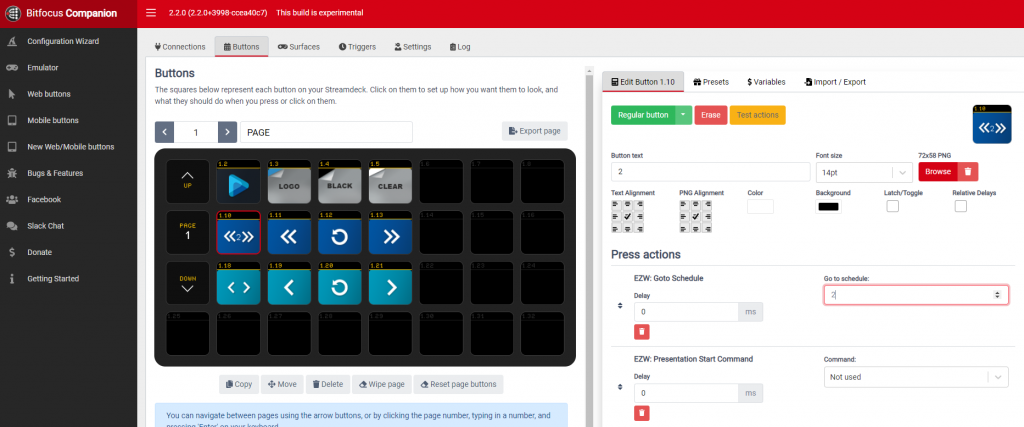
Now you can open the Emulator or use your Stream Deck to control EasyWorship. In the emulator tab, simply press the buttons for the actions you want to perform in EasyWorship.
Not only is the Stream Deck and Companion great for running a live service using one device, but if you also livestream with multiple cameras or scenes and have a lighting system that can be changed mid-service, all of this can be set up as keys on your Stream Deck or in Companion to make your life that much easier.